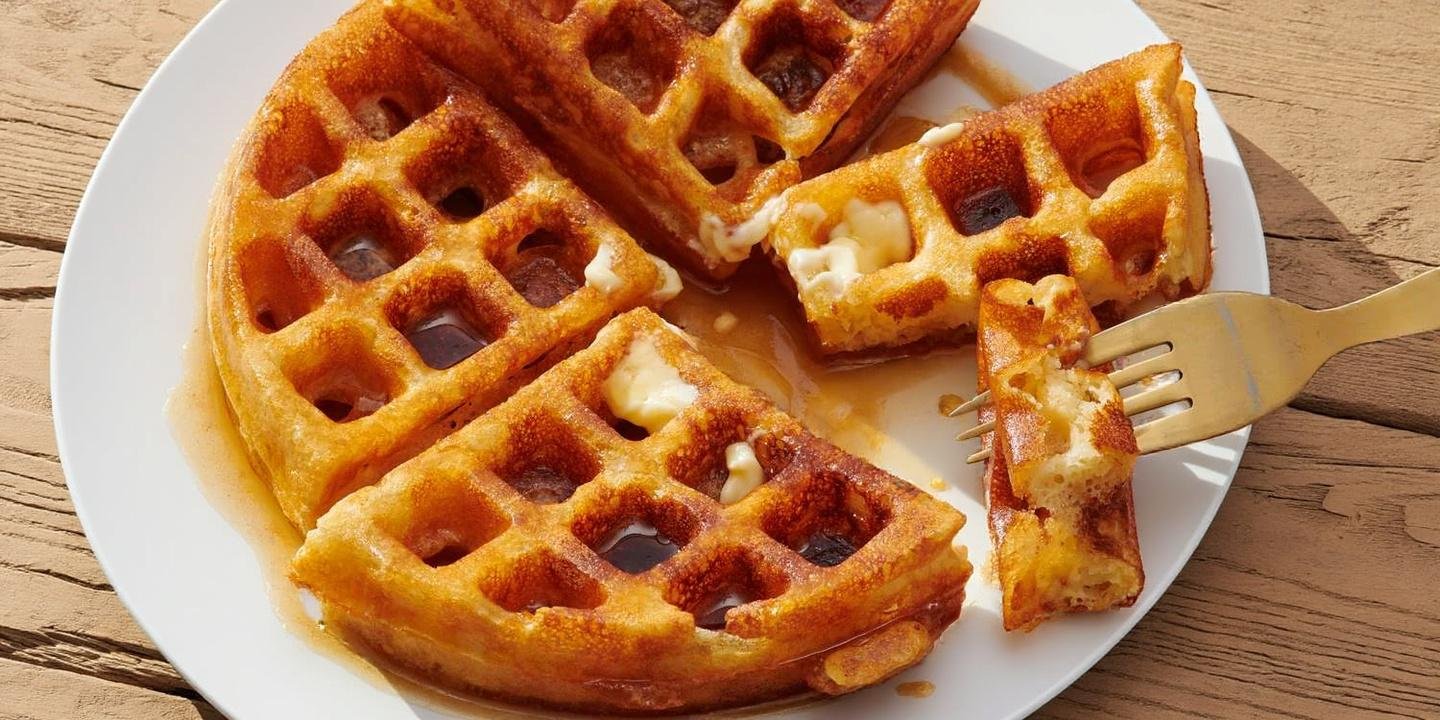
There's something magical about homemade waffles—the anticipation as steam rises from the iron, the satisfaction of that first golden square lifting perfectly from the grid, and then that first bite: crispy exterior giving way to fluffy interior, punctuated by bursts of warm, jammy blueberry.
This guide covers everything you need to know to make waffles that rival your favorite brunch spot—and outshine any frozen version by miles.
Our Waffle Recipes
The Science of Perfect Waffles
Great waffles achieve a seemingly impossible balance: crispy on the outside, fluffy on the inside. Understanding what creates each quality helps you achieve both:
What Creates Crispness
- Fat: Melted butter in the batter promotes browning and crisping
- Sugar: Caramelizes on the surface, creating golden crunch
- External moisture removal: The waffle iron's heat drives out surface moisture
- Proper timing: Cooking until steam significantly slows
What Creates Fluffiness
- Leavening: Baking powder creates gas bubbles that expand when heated
- Buttermilk: Its acidity activates baking soda for extra lift
- Not overmixing: Preserves air bubbles and prevents tough gluten development
- Proper batter consistency: Thick enough to hold air, thin enough to spread
The Secret Ingredient: Cornstarch
Many professional recipes include 2 tablespoons of cornstarch, which creates an extra-crispy exterior. Try replacing 2 tbsp of flour with cornstarch for noticeably crispier results.
Waffle Iron Guide
Not all waffle irons are created equal:
Belgian vs. Classic
- Belgian waffle irons have deeper pockets, producing thick waffles perfect for loading with toppings. They require slightly more batter per waffle.
- Classic American waffle irons have shallower grids, producing thinner, crispier waffles. These work best for this recipe.
Both work fine—just adjust batter amount and cooking time accordingly.
Temperature Matters
If your iron has temperature settings, medium-high usually works best. Too low and waffles are pale and soggy; too high and they burn before cooking through.
Preheating is essential. Wait until the indicator light shows it's ready, or test by sprinkling a few drops of water—they should sizzle immediately.
Step-by-Step Technique
1. Mix Dry Ingredients
Whisk flour, sugar, baking powder, baking soda, and salt in a large bowl. This ensures even distribution of leavening throughout the batter.
2. Combine Wet Ingredients
In a separate bowl, whisk buttermilk, eggs, melted butter, and vanilla. The butter should be melted but not hot—hot butter can cook the eggs when mixed.
3. The Critical Mix
Pour wet ingredients into dry and stir until just combined. The batter should be lumpy—that's perfect. Overmixing develops gluten, creating tough waffles.
Let the batter rest for 5 minutes. This allows the flour to hydrate and the gluten to relax, producing more tender waffles.
4. Add Blueberries Strategically
Fold most blueberries into the batter gently, reserving some for topping. The berries will release juice during cooking, creating pockets of flavor throughout.
5. Cook Until Steam Stops
Pour batter onto the center of the preheated iron (amount depends on your iron—usually ½ to ¾ cup). Close the lid and don't open it until steam significantly decreases.
Opening early tears the waffle as it separates from both plates. When ready, the waffle should lift easily without sticking.
Working with Blueberries
Fresh vs. Frozen
- Fresh blueberries: Maintain their shape better, release less juice, look prettier
- Frozen blueberries: Work great but don't thaw them first—fold in frozen directly. Thawed berries release too much liquid and turn the batter purple.
Even Distribution
For consistent berry distribution, fold about 1 cup into the batter, then drop a few extra berries onto the batter after pouring onto the iron. This ensures berries appear on both top and bottom surfaces.
Gut Health Boost
Blueberries are superstars for gut health. They're rich in polyphenols and anthocyanins that support beneficial gut bacteria diversity and reduce inflammation. Fresh buttermilk provides some probiotic benefits. For maximum benefits, serve with additional fresh berries instead of excess syrup.
Getting Them Crispy
The difference between soggy and crispy waffles often comes down to post-cooking handling:
Never Stack
Stacking hot waffles creates steam between them, turning crispy exteriors soft within minutes. Instead, place on a wire rack in a single layer.
Keep Warm Properly
Place a wire rack on a baking sheet in a 200°F (95°C) oven. Transfer finished waffles to the rack as you cook remaining batter. The low heat keeps them warm while allowing steam to escape, preserving crispness.
Serve Immediately
Waffles are at peak crispness the moment they leave the iron. The longer they sit, the more moisture migrates from inside to the surface, softening it. Get everyone to the table before you start cooking!
Variations and Toppings
Berry Variations
- Mixed Berry: Use a combination of blueberries, raspberries, and blackberries
- Strawberry: Fold in diced strawberries (they release more juice, so use slightly less)
- Lemon Blueberry: Add 1 tbsp lemon zest and 2 tbsp lemon juice to the batter
Other Variations
- Chocolate Chip: Replace blueberries with chocolate chips
- Banana Walnut: Add sliced bananas and chopped walnuts
- Cinnamon Roll: Swirl cinnamon-sugar mixture into batter, top with cream cheese drizzle
- Whole Wheat: Replace half the flour with whole wheat flour for more fiber
Topping Ideas
- Classic: Butter and warm maple syrup
- Fresh: Additional blueberries, sliced bananas, whipped cream
- Indulgent: Nutella and strawberries
- Healthy: Greek yogurt, honey, and fresh berries
- Savory: Fried chicken and honey (yes, really—it's incredible)
Storage and Reheating
Make extra for easy weekday breakfasts:
Freezing
- Cool waffles completely on a wire rack
- Arrange in a single layer on a baking sheet
- Freeze until solid (about 1 hour)
- Transfer to freezer bags, removing excess air
- Freeze for up to 2 months
Reheating
- Toaster: Best method—recrisps the exterior while heating through. Toast directly from frozen.
- Oven: 350°F for 5-10 minutes. Place on a wire rack for crispness.
- Microwave: Only if you don't care about crispness. Heats quickly but makes them soft.
The bottom line: Homemade blueberry waffles are a weekend luxury that anyone can master. The keys are simple: don't overmix the batter, preheat the iron properly, wait for the steam to slow before opening, and serve immediately on a wire rack—never stacked. Once you experience truly fresh, crispy-outside-fluffy-inside waffles bursting with blueberries, those frozen grocery store versions will never satisfy again.